Get Started
How to 3D print LEGO® compatible bricks with the MachineBlocks Brick 3MF / STL generator
1. Create 3MF / STL Model
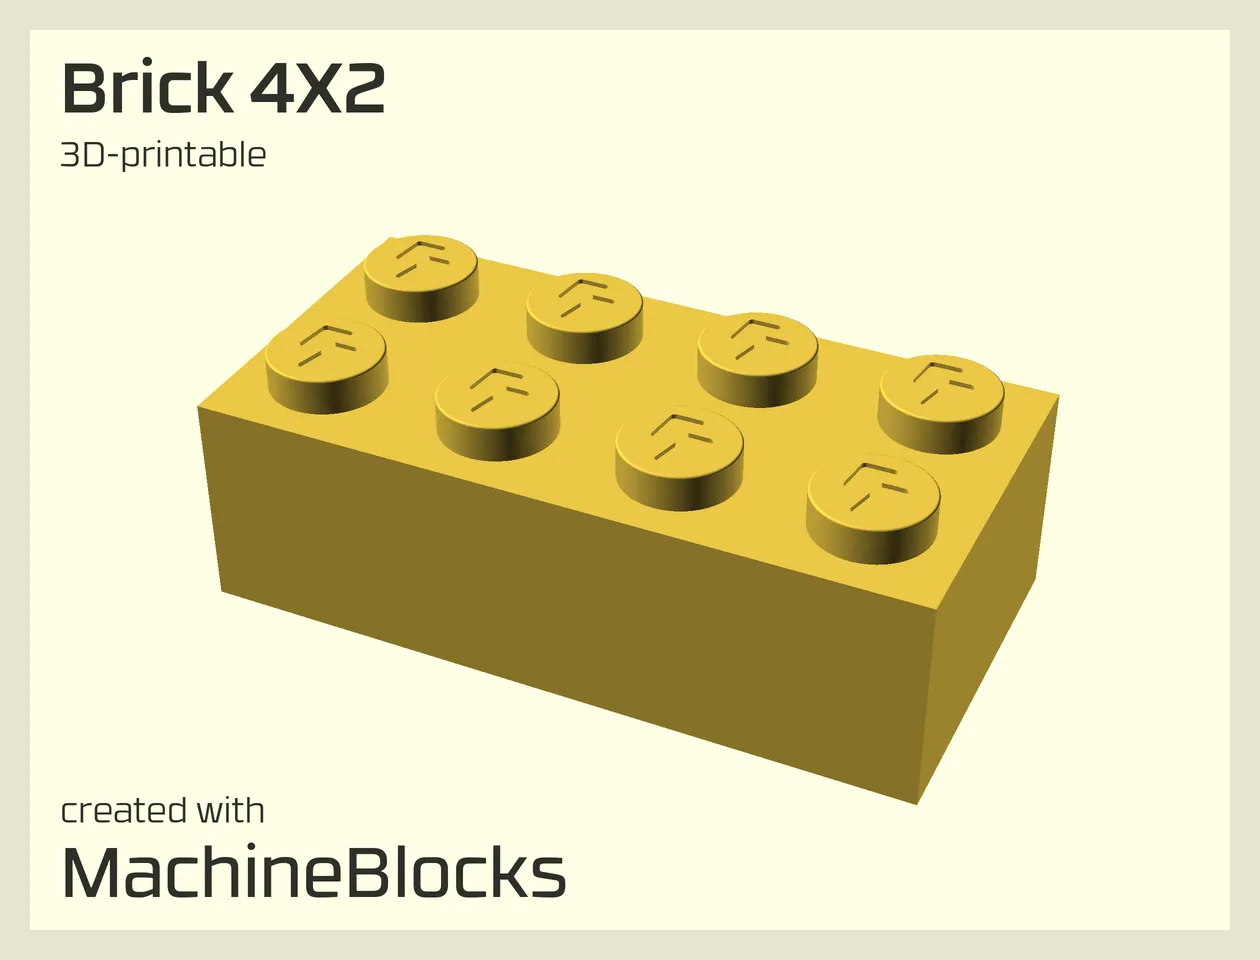
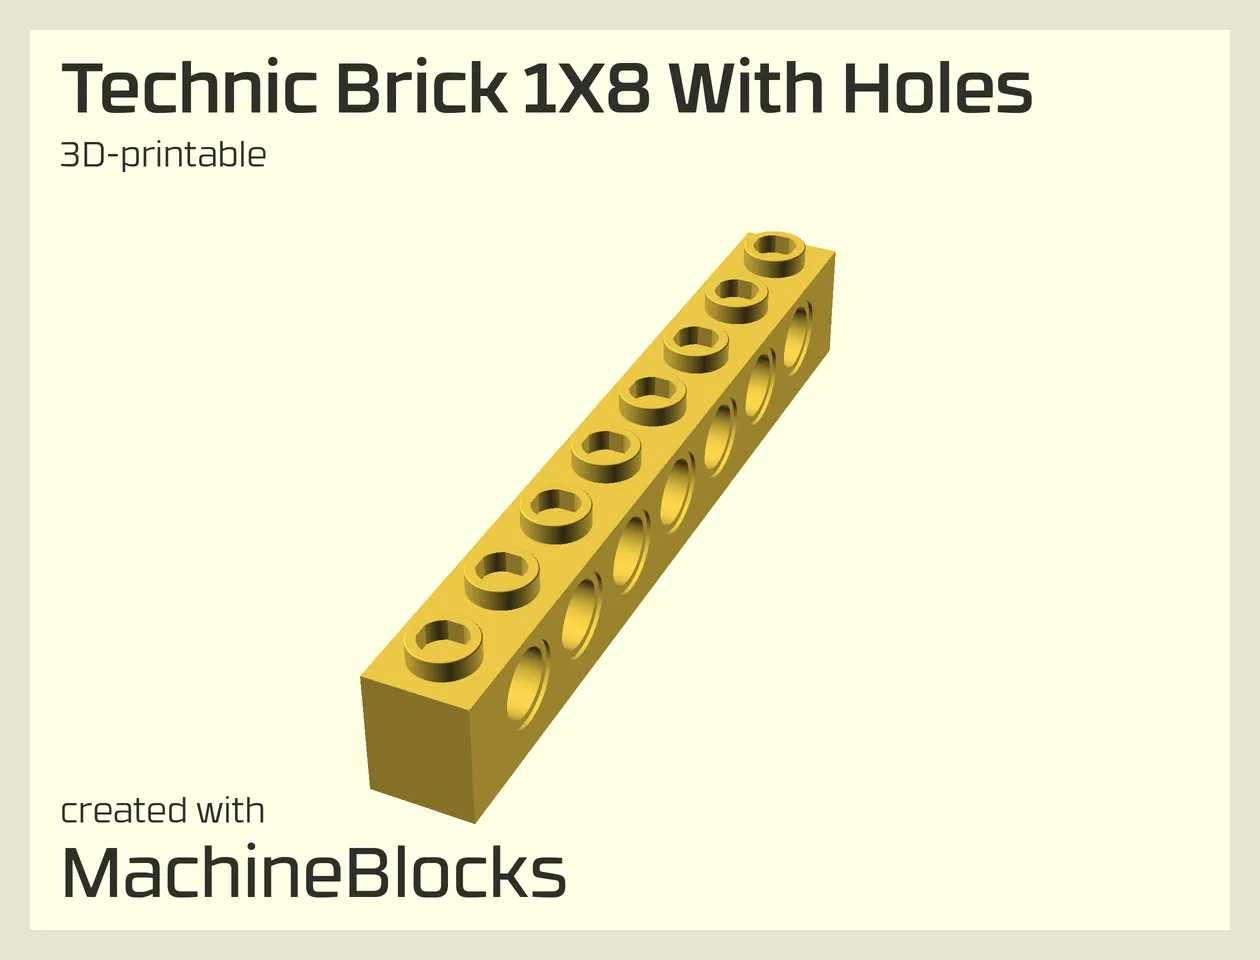
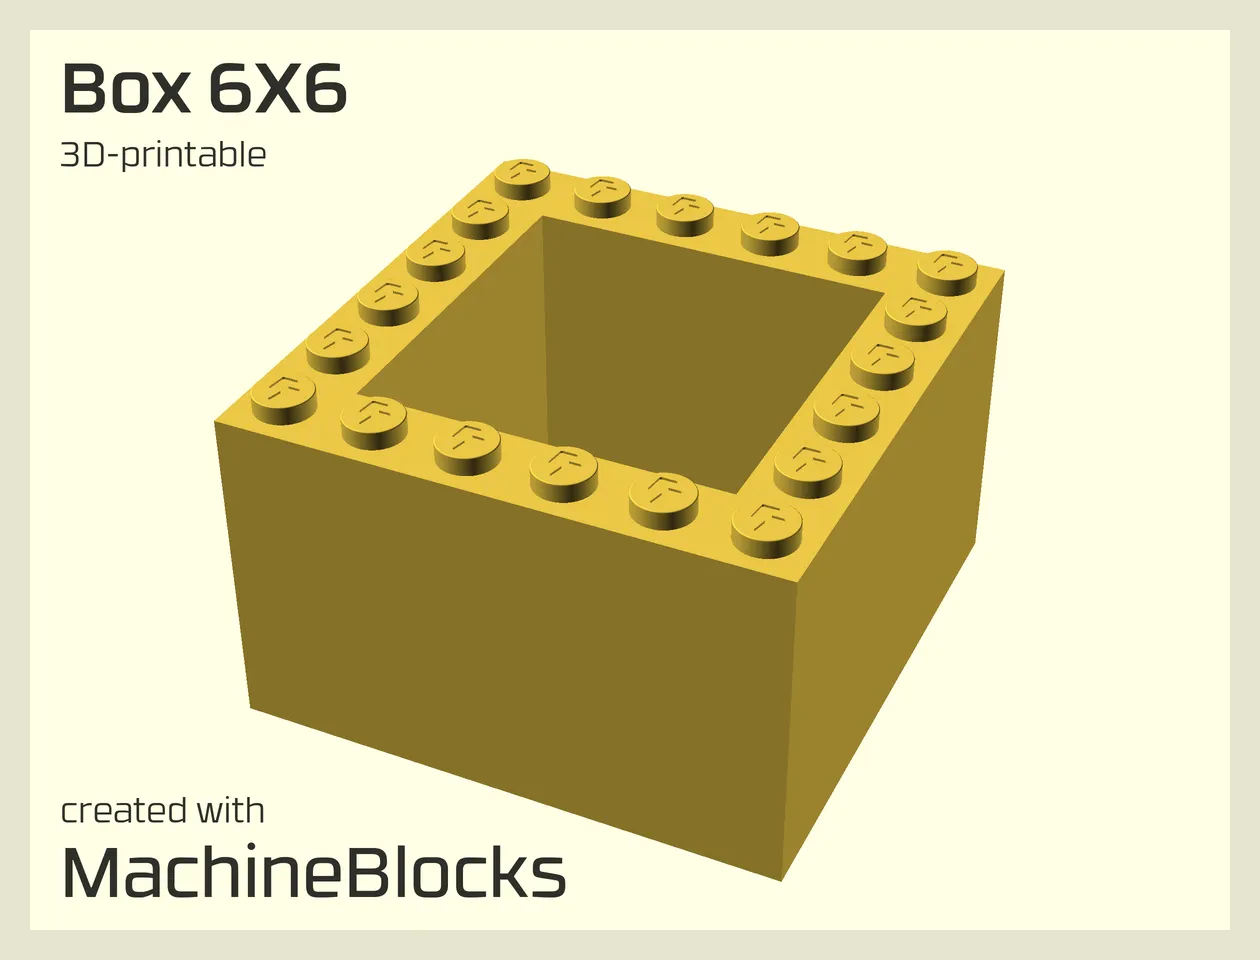
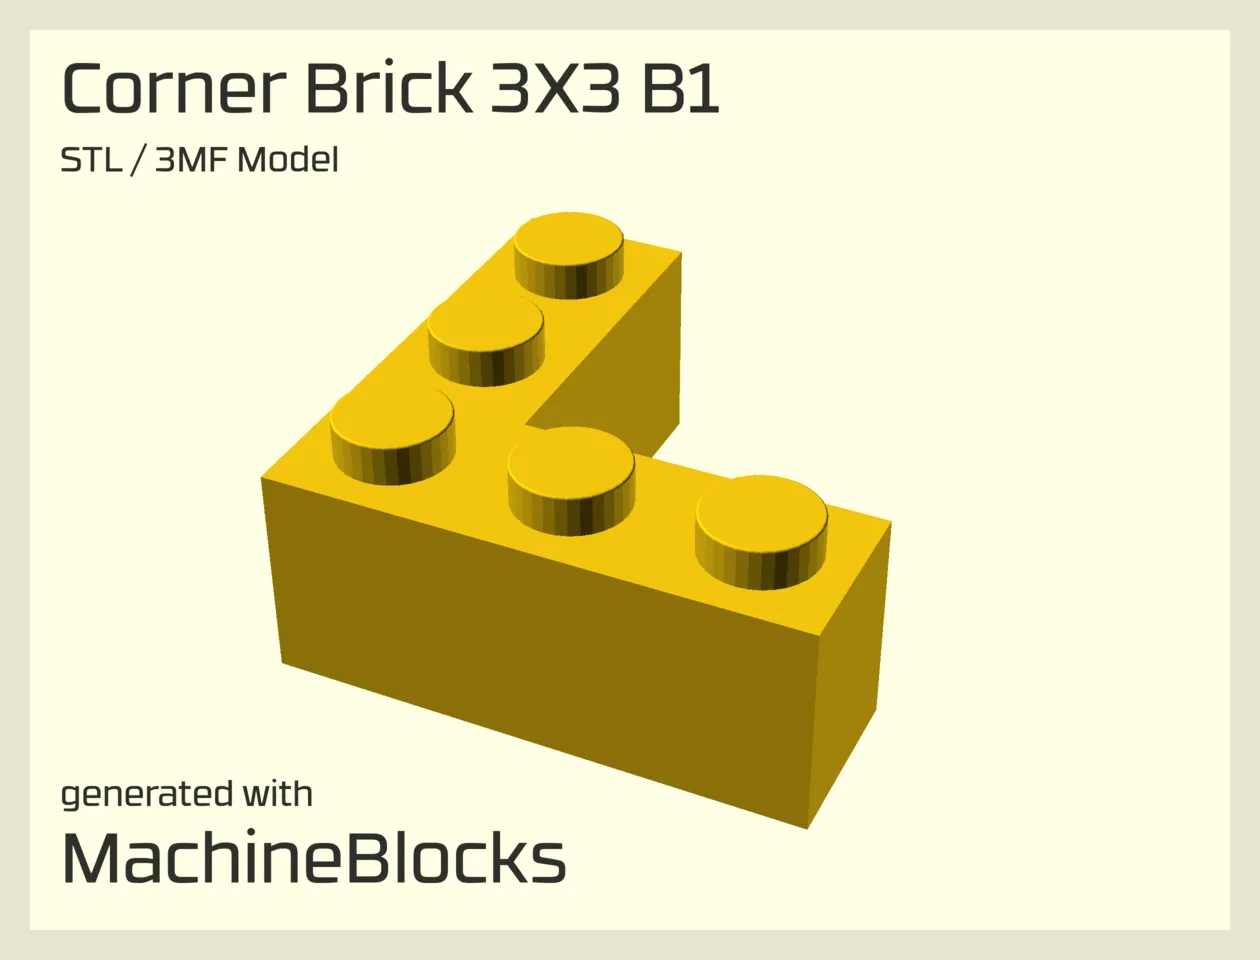
Select one of the examples and customize it according to your needs.
Press Render and and wait until rendering is finished. Then press Download 3MF to download the 3MF model (recommended).
Alternatively, you can select STL from the dropdown menu after rendering. Then press Download STL to download the STL model.
2. Import 3MF / STL model into Slicer Software
You can import the previously exported model into your slicer software like any other 3D model. Make sure you use the following settings:
-
Nozzle Diameter
0.4 mm -
Filament
PETG
PLA -
Layer Height
0.2 mm -
Supports
None -
Infill
15% -
Bed Temperature
~85°C
~65°C -
Nozzle Temperature
230-260°C
215-230°C
Temperature Settings
Every 3D printer and every material requires slightly different temperature settings. It is best to start with the settings specified by the filament manufacturer. However, nozzle temperatures that are too low often lead to faulty first layers. Read the Troubleshooting Guide if you have any problems with 3D printing.
MachineBlocks recommends using PRUSA PETG for 3D printing, as it is resistant and flexible and at the same time very easy to print.
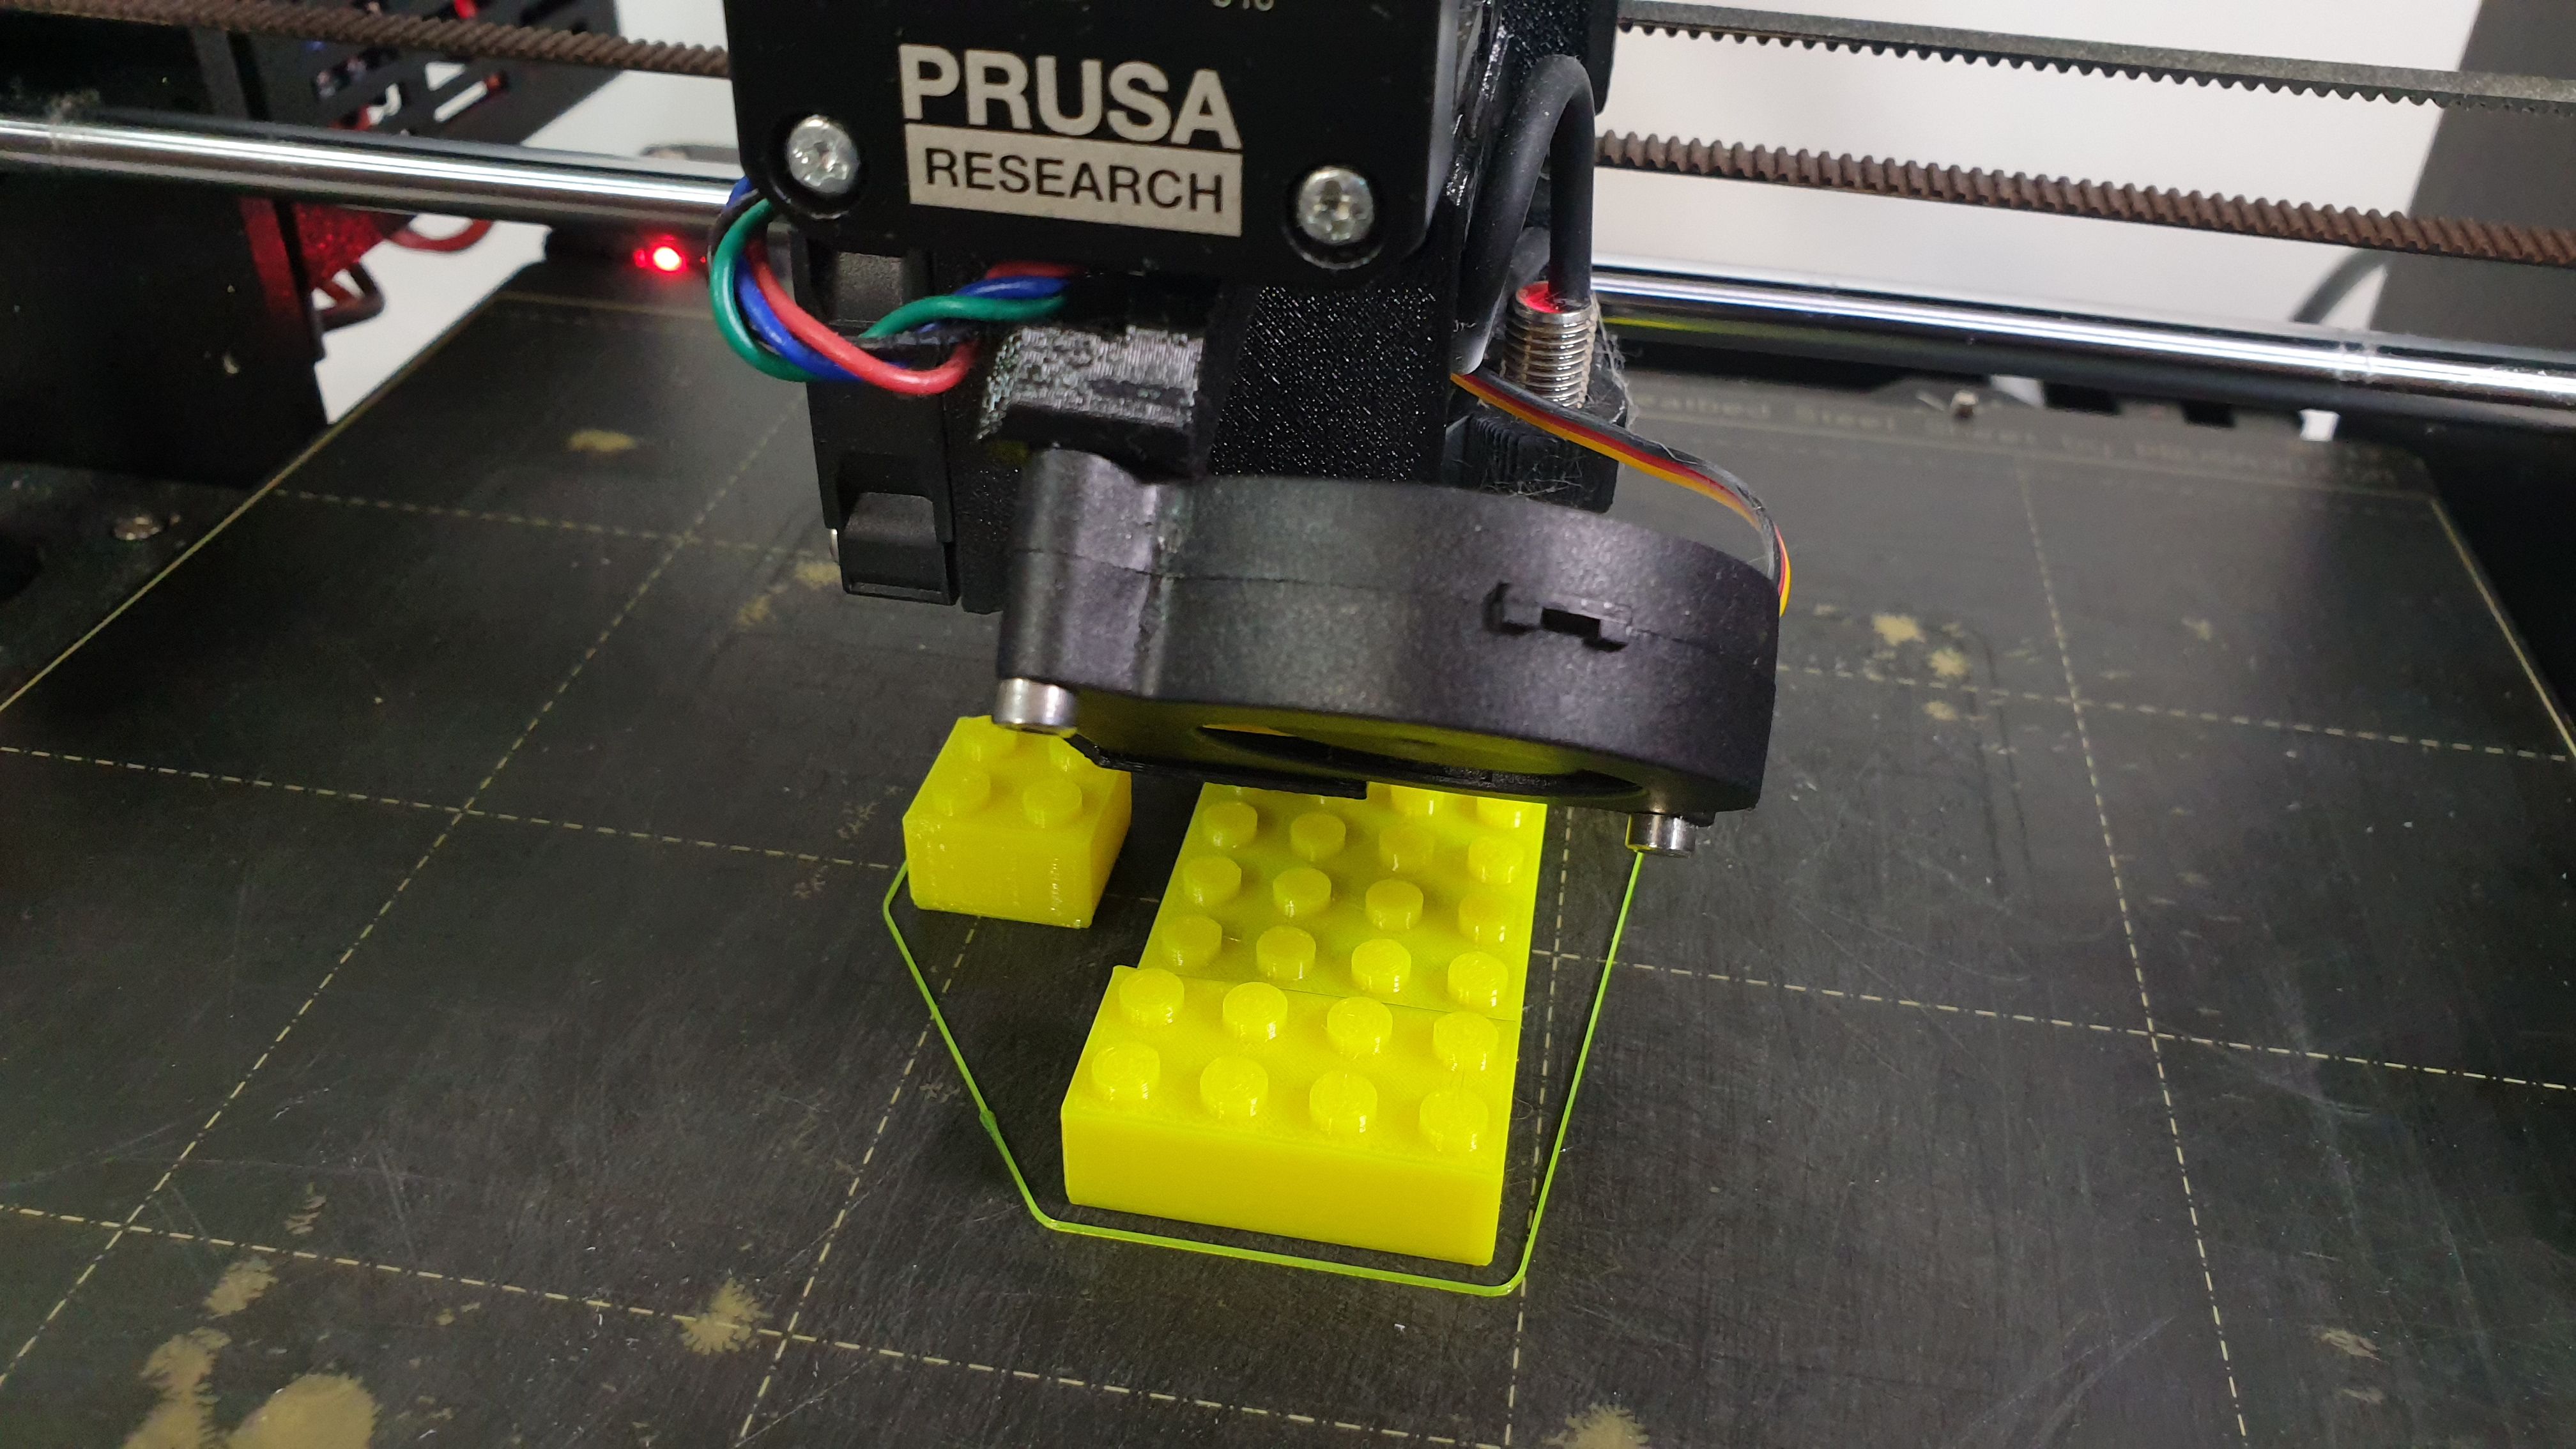
MachineBlocks recommends
3D Printers from PRUSA
3D Printers from PRUSA
Happy Printing :)
Troubleshooting
Solutions for common problems when 3D printing LEGO® compatible bricks.
Brick is too tight or too loose, or it does not fit at all
Original LEGO® bricks are cast from relatively soft ABS plastic to an accuracy of a tenth of a millimeter. 3D printed bricks, on the other hand, are generally harder and have small irregularities or inaccuracies depending on the printer. Depending on the material and the nozzle temperature, the brick also contracts to varying degrees when it cools. As a result, the brick may be too tight or too loose, or no longer fit at all.
Measures to improve accuracy of fit:
Brick loses clamping force after a while
3D-printed bricks are generally harder than original LEGO bricks, regardless of the material used. After a while, they can wear out and lose their clamping force. It is therefore important to use materials that are as resistant and flexible as possible.
Measures to increase longevity:
- Use resistant and flexible materials, such as PRUSA PETG
Slicer shows warnings when importing a STL file
The MachinBlocks.com Online Brick STL Generator uses OpenSCAD WebAssembly to render STL files which is still in its infancy. The generated STL files can therefore contain minor errors that usually get repaired automatically when being imported into the Slicer Software. However, if you want to generate flawless STL files, we recommend to install the MachineBlocks OpenSCAD library locally on your computer and export the STL files from there.
Measures to avoid warnings:
- Export models as 3MF if possible
- Install and use MachineBlocks locally
Slicer Software shows errors after slicing the STL file
Sometimes the Slicer Software is unable to slice the imported STL file correctly even though the model seems to be fine. This can have multiple reasons, such as a corrupted STL file or an outdated Slicer Software.
Measures to fix slicing problems:
- Install the latest version of your Slicer Software
- Export models as 3MF if possible
- Install and use MachineBlocks locally
First layer does not adhere to print bed
The first layer forms the foundation for the print. If it does not adhere properly, the print is likely to fail. Common causes of this are too low a nozzle and bed temperature, and a greasy or too smooth print surface.
Measures to increase first layer adhesion:
- Print the first layer at higher nozzle temperature
- Use a textured printing surface, e.g. a powder coated steel sheet
- Increase the bed temperature
- Clean the printing surface
- Decrease printing speed for first layer
- Use materials that are easy to print, such as PRUSA PETG
Author's note: I personally print the first layer at a much higher nozzle temperature than specified by the filament manufacturer. As a rule of thumb, the first layer should be printed so hot that the nozzle draws light strings but does not form bubbles. All other layers can be printed with the recommended nozzle temperature.
Extruder draws thin strings when moving (stringing)
Stringing is a sign that the nozzle temperature is too high so the filament is very liquid. As a result, the extruder is no longer able to fully retract the filament. This results in thin strings when the extruder is moving.
Measures to avoid stringing
- Reduce nozzle temperature
Corners bend upwards (warping)
During the cooling process, the printed brick contracts slightly. This creates tension in the material, which varies depending on the temperature and material. If the tensions are too great, this causes the corners to bend upwards, which is known as "warping".
Measures to avoid warping:
- Use materials that are known to warp little, such as PRUSA PETG
- Increase first layer adhesion
- Use a closed printer chamber
Brick tears off the print bed (tearing)
Tearing during printing can have various reasons. It is often a result of excessive warping, whereby the extruder eventually grazes the printed product and tears off. Improperly printed first layers as well as deposits and dirt on the nozzle can also lead to this.
Measures to avoid tearing:
- Make sure that the first layer has been printed correctly and completely and that it adheres well to the print bed
- Make sure there is no excessive warping
- Make sure there is no debris on the nozzle
